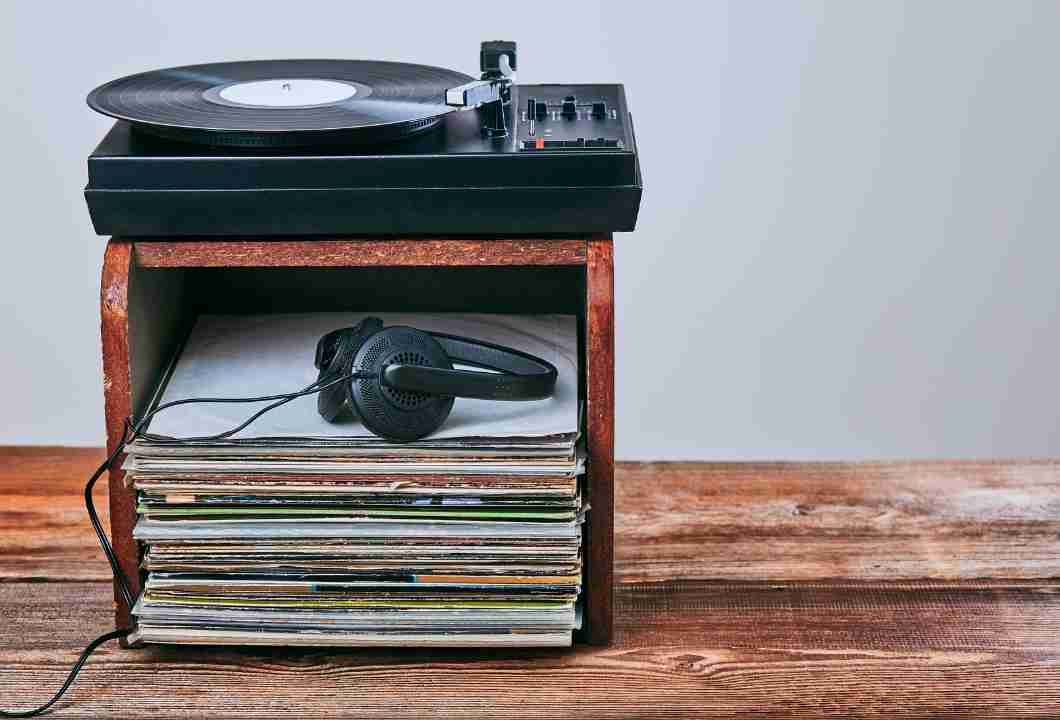
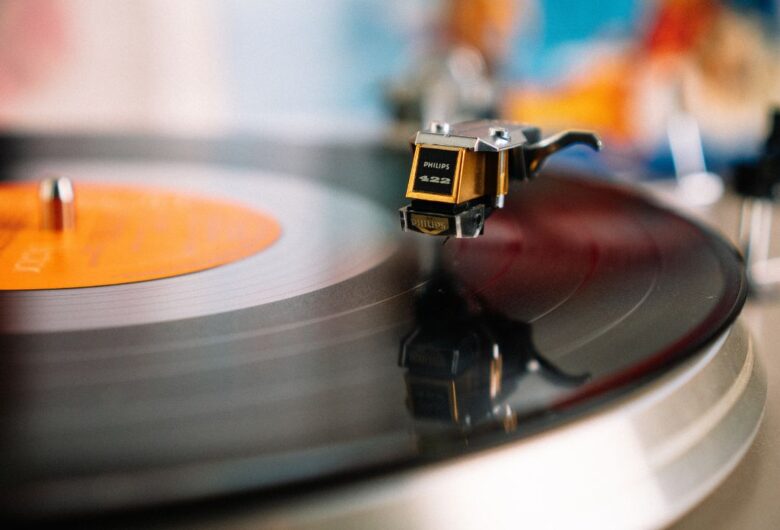
Most turntables do not leave the factory—or a previous owner’s home—perfectly adjusted for your system.
Skipping the basics can lead to problems such as:
- dull or lifeless sound
- distortion during loud passages
- skipping or mistracking
- inner-groove distortion
- excessive surface noise
- faster stylus wear
- unnecessary record wear
The purpose of this checklist is not to achieve perfection immediately. It is to eliminate the most common mistakes before they become long-term habits.
Step 1 — Make Sure the Turntable Is Level
Always begin with the turntable itself.
A turntable should sit on a solid, stable surface that does not rock or vibrate during playback. If the chassis is tilted, tracking force and anti-skate may not behave as intended, making accurate adjustment much more difficult.
Check that:
- the furniture is stable
- the turntable does not wobble
- the platter is level from front to back
- the platter is level from left to right
A small bubble level is inexpensive and makes this job much easier.
Beginner Tip
Do not assume that a shelf or cabinet is level just because it looks flat. Even a slight tilt can affect cartridge performance over time.
Step 2 — Inspect the Stylus
Before placing the stylus on any record, take a close look at it.
You do not need magnification or special equipment for a basic inspection. Simply confirm that the stylus is:
- present
- reasonably clean
- not bent
- firmly attached
- free from obvious damage
If you bought the turntable second-hand and do not know how many hours the stylus has been used, assume it may already be worn until you can confirm its condition.
A damaged stylus can permanently damage records much faster than most beginners realize.
Step 3 — Check That the Cartridge Is Secure
Next, inspect the cartridge itself.
It should sit firmly in the headshell without movement or visible twisting.
Look for:
- loose mounting screws
- obvious tilt
- crooked positioning
- signs that the cartridge has shifted
Do not overtighten the mounting hardware, but make sure everything feels secure before continuing.
A cartridge that moves even slightly during playback can affect channel balance, tracking accuracy, and alignment.
Step 4 — Balance the Tonearm
If your turntable uses an adjustable counterweight, balancing the tonearm comes before setting the tracking force.
This step establishes the reference point for every adjustment that follows.
Skipping it—or simply guessing—often leads to incorrect tracking force, poor tracking performance, and unnecessary record wear.
Take your time here. Once the tonearm is properly balanced, the remaining adjustments become much easier and more accurate.
Step 5 — Set the Correct Tracking Force
Tracking force is one of the most important adjustments on any turntable.
Too much force can increase stylus and record wear.
Too little force is often even worse because the stylus may lose proper contact with the groove, causing mistracking and distortion.
For the best results:
- use a digital stylus force gauge whenever possible
- do not rely solely on the numbers printed on the counterweight
- follow the cartridge manufacturer’s recommended tracking force range
OneBrightGuide Tip
A digital stylus scale is one of the most affordable upgrades you can make to improve setup accuracy. Even well-built vintage turntables may no longer match the printed counterweight markings perfectly after decades of use.
Step 6 — Adjust Anti-Skate
Anti-skate helps the stylus maintain even pressure on both groove walls as it travels toward the center of the record.
If anti-skate is set far from the correct value, you may notice:
- uneven channel balance
- increased distortion
- uneven stylus wear
- premature record wear
For most beginners, the safest starting point is simple:
Set the anti-skate value close to the tracking force.
It may not be absolutely perfect for every cartridge, but it provides a reliable baseline that can be fine-tuned later if necessary.
Step 7 — Verify Cartridge Alignment
Cartridge alignment has a direct impact on:
- tracking accuracy
- distortion levels
- stylus wear
- record wear
- inner-groove performance
It is also one of the setup steps that beginners are most likely to skip.
Whenever possible, use an alignment protractor designed for your tonearm geometry.
Even a basic alignment performed carefully is significantly better than simply tightening the cartridge in a random position.
Avoid This Mistake
Do not assume that a factory-installed cartridge is automatically aligned correctly. Shipping, previous adjustments, or replacement headshells can all affect alignment.
Step 8 — Check the Cable Connections
Before playing a record, take a moment to inspect the rear of your audio system.
Many playback issues are caused by simple connection mistakes rather than faulty equipment.
Confirm that:
- the RCA cables are fully inserted
- the left and right channels are connected correctly
- the ground wire is connected if your turntable requires one
- no cable is under tension or pinched behind the equipment
A loose connection can introduce hum, weak output, intermittent sound, or channel imbalance.
OneBrightGuide Tip
If you recently moved your system or changed components, always recheck the cables before assuming something is defective.
Step 9 — Verify the Phono Stage
Unlike most audio sources, a turntable cannot usually be connected directly to a standard line-level input.
Before playing a record, confirm one of the following:
- your amplifier or receiver has a dedicated PHONO input
- your turntable includes a built-in phono preamp and it is switched on when required
- you are using an external phono preamp connected correctly
Connecting a turntable to a normal AUX, CD, or LINE input without proper phono amplification usually results in very low volume, weak bass, and an unnatural tonal balance.
If you are unsure, check both your turntable manual and your amplifier specifications before continuing.
Step 10 — Clean the Record
Even a perfectly adjusted turntable cannot compensate for a dirty record.
Before your first listening session, inspect the record under good lighting.
Look for:
- loose dust
- fingerprints
- hair or fibers
- visible debris
- obvious scratches or damage
A quick pass with a carbon-fiber brush removes loose particles that would otherwise be carried directly under the stylus.
Building this habit from the beginning helps reduce stylus contamination and unnecessary record wear.
Step 11 — Clean the Stylus
The stylus deserves the same attention as the record itself.
Even a small amount of accumulated dust can affect playback quality.
A dirty stylus may cause:
- dull sound
- reduced detail
- distortion
- mistracking
- increased groove wear
Use a stylus brush or another cleaning method recommended by the cartridge manufacturer.
Always clean gently, brushing from the back of the stylus toward the front—never side to side or toward the cantilever.
Step 12 — Allow the Turntable to Reach Full Speed
Do not lower the stylus immediately after pressing Start.
Many belt-drive and vintage turntables require a few moments for the platter to stabilize.
Waiting just a few seconds allows:
- stable speed
- more consistent pitch
- smoother startup
- less unnecessary stress on the stylus
This is a small habit, but it contributes to more consistent playback.
Step 13 — Test with a Record You Know Well
When testing a new setup, avoid using your rarest or most valuable record.
Instead, choose an album that:
- you know well
- is in good condition
- can safely be used for testing
A familiar record makes it much easier to notice changes in sound quality and identify setup problems.
During the first playback, listen carefully for:
- distortion
- channel imbalance
- speed instability
- excessive surface noise
- mistracking
- hum or buzz
If something sounds wrong, stop and investigate before continuing.
Step 14 — Listen for Warning Signs
A properly adjusted turntable should sound balanced, stable, and effortless.
If you notice any of the following, another setup adjustment may still be necessary:
- harsh sibilance
- inner-groove distortion
- skipping
- buzzing or hum
- weak output
- channel imbalance
- muddy or closed-in sound
- unstable pitch
Remember that several symptoms can have more than one possible cause.
Avoid changing multiple settings at once. Adjust one variable, test again, and continue only if necessary.
Quick Beginner Setup Checklist
Before playing your first record, confirm that:
✓ The turntable is level.
✓ The stylus is clean and undamaged.
✓ The cartridge is securely mounted.
✓ The tonearm has been balanced.
✓ Tracking force is correctly adjusted.
✓ Anti-skate is set appropriately.
✓ Cartridge alignment has been checked.
✓ RCA cables and the ground wire are connected properly.
✓ The correct phono input or preamp is being used.
✓ The record is clean.
✓ The stylus is clean.
✓ The platter has reached full speed before playback.
✓ The first test is being performed with a familiar record.
Frequently Asked Questions
Do I need a digital tracking force gauge?
No, but it is one of the easiest and most affordable tools for improving setup accuracy. It is generally more reliable than relying only on the markings printed on the counterweight.
Should I clean every record before playing it?
Removing loose dust before each listening session is a good habit. It helps keep the stylus cleaner and reduces unnecessary groove contamination.
How often should I check tracking force?
Check it whenever you install a new cartridge, move the turntable, replace the stylus, or notice changes in playback quality.
Is anti-skate always necessary?
Most turntables with adjustable anti-skate benefit from having it set correctly. Even an approximate setting is usually better than leaving it completely incorrect.
Can I use a valuable record to test a new setup?
It is much safer to begin with a record that you know well and would not mind using for testing. Once everything sounds correct, move on to the rest of your collection.
Final Thoughts
A good turntable setup is not about achieving laboratory perfection—it is about getting the fundamentals right.
Most playback problems that frustrate beginners are not caused by expensive equipment or worn-out records. They usually come from one or two basic adjustments that were overlooked during setup.
Taking a few extra minutes to level the turntable, verify the tracking force, check the cartridge alignment, and confirm the phono connection can make a far greater difference than many equipment upgrades.
As your experience grows, you will naturally refine your setup and develop your own routine. Until then, this checklist provides a reliable foundation for cleaner sound, longer stylus life, and better protection for every record you play.
Continue Learning
If you’ve completed your initial setup, these guides are a good next step:
- How to Clean a Turntable Safely (Without Damaging It)
- Tracking Force and Anti-Skate: How to Choose Safe Values for Your Cartridge
- How to Identify the Correct Turntable Stylus
- Why Your Turntable Sounds Dull Even with Clean Records
- Turntable Only Makes Noise When Other Devices Turn On: Step-by-Step Ground Loop Diagnosis
This is exactly the type of systematic approach that helps you enjoy better analog sound while avoiding the most common beginner mistakes.