A failing left or right channel is one of the most common—and most frustrating—complaints in vintage audio. One day your turntable sounds wide and balanced; the next, the image collapses to one side, or a channel drops in and out when you touch the headshell. Because the signal path of a turntable is long and delicate, guessing wastes time and can create new problems. A systematic diagnosis, however, can pinpoint the fault quickly and safely, preserving originality and sonic integrity.
This in-depth guide is written from a restoration bench perspective. It explains how to isolate the problem step by step, using logic instead of assumptions. The goal is to help you determine whether the issue lives in the stylus, cartridge, cabling, or amplifier—without replacing parts blindly and without risking damage to irreplaceable components.
Understanding the Signal Path Before Touching Anything
A turntable’s audio path is deceptively simple:
- Stylus traces the groove
- Cartridge converts motion into an electrical signal
- Headshell wiring carries that signal to the tonearm
- Internal tonearm wiring routes it to the output jacks
- Interconnect cables deliver it to the phono stage
- The phono preamp equalizes and amplifies the signal
- The main amplifier sends it to the speakers
A failure in any of these points can mute one channel. The diagnostic process works by dividing the chain in half repeatedly until the faulty section is revealed.
Tools You Actually Need (and What to Avoid)
You don’t need a laboratory, but precision matters.
Essential tools
- A clean, known-good record
- A stylus brush or gel pad
- Contact cleaner (electronics grade)
- A multimeter with continuity and resistance modes
- A flashlight or inspection loupe
Avoid
- Abrasive cleaners on contacts
- Excessive force on headshell wires
- Random cartridge swaps without testing
Vintage turntable components are fragile. Every unnecessary removal increases the risk of broken leads or misalignment.
Step 1: Rule Out the Obvious at the Listening Position
Before touching the turntable, confirm that the problem truly originates there.
Swap speaker channels at the amplifier output.
- If the silent channel switches sides, the issue is downstream (amplifier or speaker).
- If it stays on the same side, the problem is upstream, and the turntable remains suspect.
This single move eliminates hours of misdirected troubleshooting.
Step 2: Check the Amplifier and Phono Stage Inputs
Most amplifiers allow input swapping.
Swap left and right RCA plugs at the phono input.
- If the dead channel moves, the fault is in the turntable or its cables.
- If it does not move, the phono stage or amplifier channel is at fault.
At this stage, do not open the turntable. Let the signal routing do the talking.
Step 3: Inspect and Clean the Stylus (Agulha)
A clogged or damaged stylus can mimic electrical failure.
What to look for
- Dust buildup forming a “ball” behind the tip
- Bent cantilever
- Missing or chipped diamond
Clean the stylus gently from back to front only. Never brush side to side. After cleaning, replay the same record passage.
If the channel returns or stabilizes, contamination was the culprit. If not, continue.
Step 4: Evaluate the Cartridge (Cápsula) Output Balance
A cartridge can partially fail, producing output on one channel only.
Quick channel swap test
- Carefully remove the headshell
- Swap the left and right signal leads on the cartridge pins (white ↔ red)
- Reinstall and play
Result interpretation
- If the silent channel switches sides, the cartridge is defective
- If it stays the same, the cartridge is likely healthy
This test is powerful because it isolates the cartridge without removing it from the system.
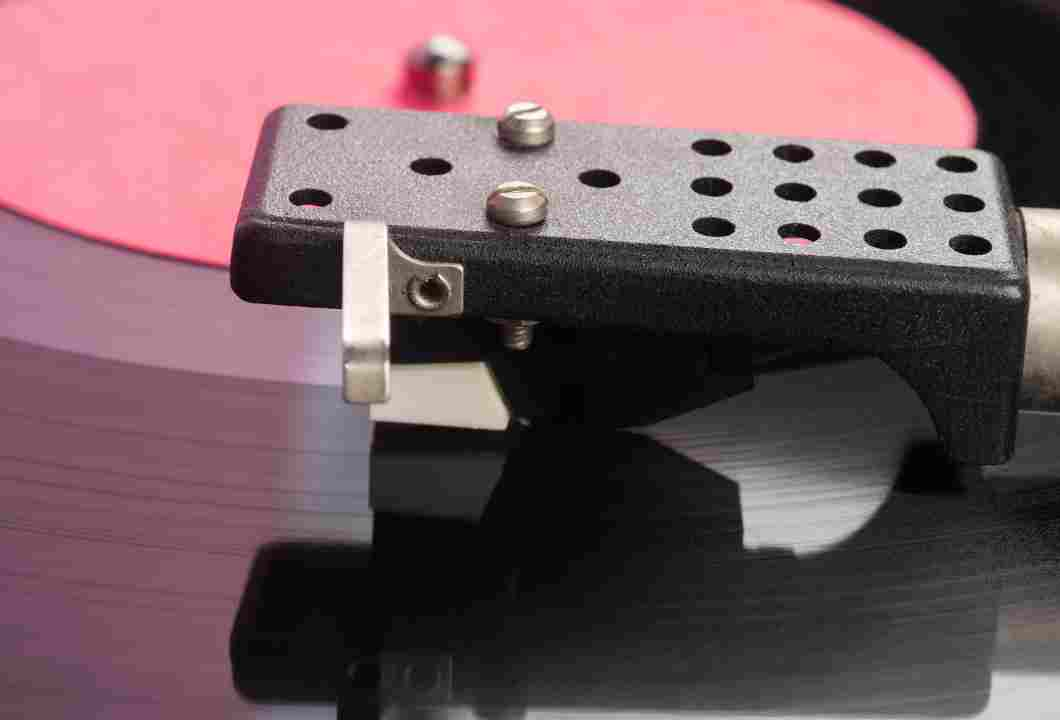
Step 5: Inspect Headshell Leads and Contact Pins
Oxidation is a silent killer in vintage turntables.
Common problem areas
- Cartridge pin clips loosened by age
- Oxidized headshell contacts
- Spring-loaded pins in detachable headshells sticking
Use contact cleaner sparingly on a lint-free swab. Gently tighten loose clips with fine tweezers. Never scrape cartridge pins.
After reassembly, test again before proceeding.
Step 6: Continuity Test the Tonearm Wiring
If the cartridge tests good, the next suspect is the internal wiring.
Set your multimeter to continuity or low resistance.
Test points
- From cartridge pin to RCA plug tip (signal)
- From cartridge ground pin to RCA sleeve (ground)
Each path should show continuity with minimal resistance. An open circuit on one channel indicates a broken wire, often near the tonearm pivot where movement stress is highest.
This is a classic failure point in older turntables and often requires professional rewiring.
Step 7: Examine the Interconnect Cables
Many vintage turntables use captive RCA cables that harden and crack with age.
Symptoms of cable failure
- Channel cuts in and out when the cable is moved
- Visible kinks or stiff sections
- Intermittent hum combined with signal loss
Wiggle the cable gently while monitoring sound. If the channel drops or returns, the cable must be repaired or replaced with period-appropriate low-capacitance wire.
Step 8: Grounding and Hum-Related Channel Loss
A missing or loose ground wire can cause severe imbalance or apparent channel dropout.
Confirm that:
- The ground wire is securely attached to the amplifier ground terminal
- There is continuity from tonearm ground to the ground spade
While grounding issues usually cause hum rather than silence, extreme cases can suppress one channel almost entirely.
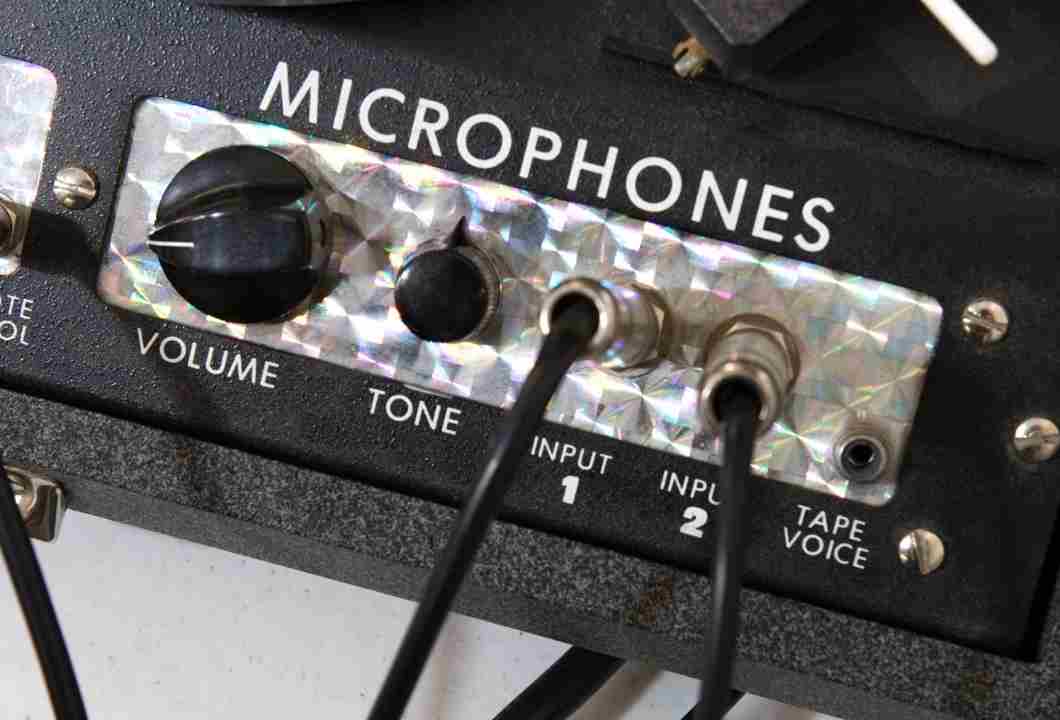
Step 9: When the Amplifier Is the Real Culprit
If all turntable tests pass, the amplifier must be evaluated.
Common amplifier-side causes
- Dirty input selector contacts
- Oxidized tape monitor switches
- Failing phono preamp transistors
Operate all switches repeatedly and clean with proper contact cleaner. Many “dead channels” come back instantly after this step.
Why Random Part Swapping Is a Mistake
Replacing a cartridge or stylus without diagnosis may temporarily mask the issue while leaving the real fault untouched. Worse, it can introduce new variables that confuse future troubleshooting.
Professional restoration philosophy values verification before replacement. Every step above narrows the fault logically, ensuring that when a part is replaced, it truly needs replacement.
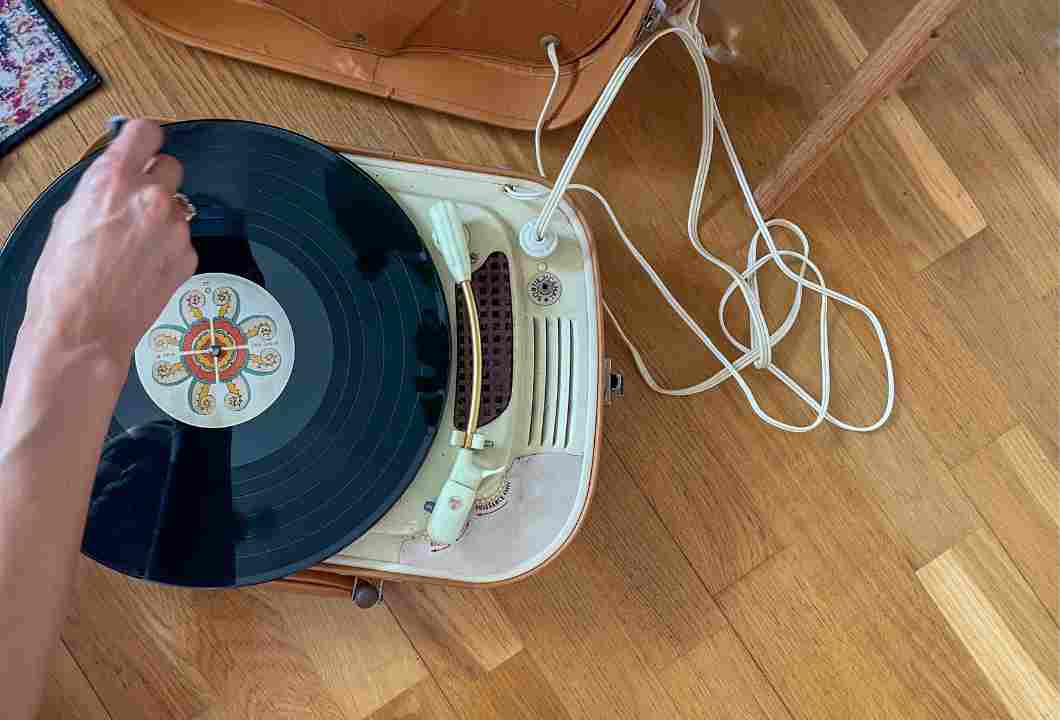
Record Player vs. Turntable: A Clarifying Note
In educational contexts, the term record player is often used broadly. In restoration and technical work, turntable is preferred because it distinguishes the mechanical playback system from integrated consumer units. Precision in language reflects precision in practice.
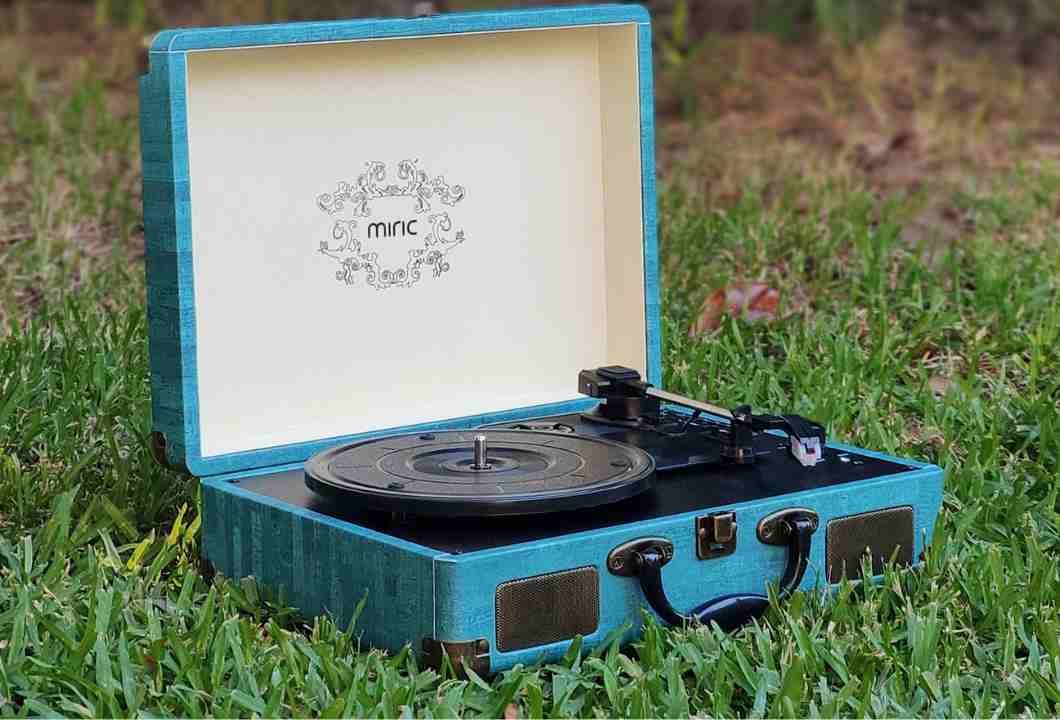
Preserving Originality While Restoring Performance
Vintage turntables are historical objects as much as audio tools. Correct diagnosis allows you to:
- Retain original cartridges when possible
- Avoid unnecessary rewiring
- Maintain factory geometry and voicing
This approach respects both sound quality and heritage.
When to Stop and Call a Specialist
If diagnostics point to:
- Internal tonearm wiring failure
- Cracked bearings affecting continuity
- Cartridge coil imbalance
These repairs require specialized tools and experience. Attempting them without proper skill risks irreversible damage.
A Confident System Starts With a Balanced Signal
A stable left and right channel is not just about volume—it’s about imaging, depth, and musical truth. By following a structured diagnostic path, you turn frustration into understanding and guesswork into certainty. Each successful test builds confidence, not only in your turntable but in your ability to care for it with respect and technical clarity.
In vintage audio restoration, silence in one channel is not a mystery to fear. It is a message. When you learn how to listen to the system itself, that message leads you directly to the solution—and back to the immersive, balanced sound that made you fall in love with analog in the first place.