Few components in vintage audio are as small—and as decisive—as the stylus. On a classic turntable, the wrong stylus can quietly ruin records, compromise tracking, and mask the very character that made analog playback worth restoring in the first place. Yet many owners still rely on vague descriptions, brand guesses, or the infamous “similar” replacement. This guide was written for restorers, technicians, and serious enthusiasts who want certainty, not approximation. In ten focused minutes, you can identify the correct stylus for your turntable with confidence, preserving both sound quality and record life.
Many of the long-term playback issues later diagnosed in Muddy Bass and Dull Mids: How to Tell Whether the Problem Is a Tired Cartridge or a Bad Adjustment originate from an incorrect stylus installed years earlier.
Why Stylus Identification Matters More Than You Think
A stylus is not an accessory; it is a calibrated mechanical interface designed to work with a specific cartridge body, cantilever geometry, and compliance range. Installing a “close enough” stylus often results in:
- Incorrect tracking force and accelerated groove wear
- Channel imbalance or persistent distortion
- Premature stylus failure
- A misleading impression of cartridge quality
In restoration work, this is one of the most common hidden failures. The turntable may be mechanically healthy, yet the sound disappoints because the stylus is fundamentally wrong—an issue frequently misattributed to alignment or electronics.
Turntable, Cartridge, Stylus: Clarifying the Roles
Before identifying anything, it is essential to separate three components that are often confused:
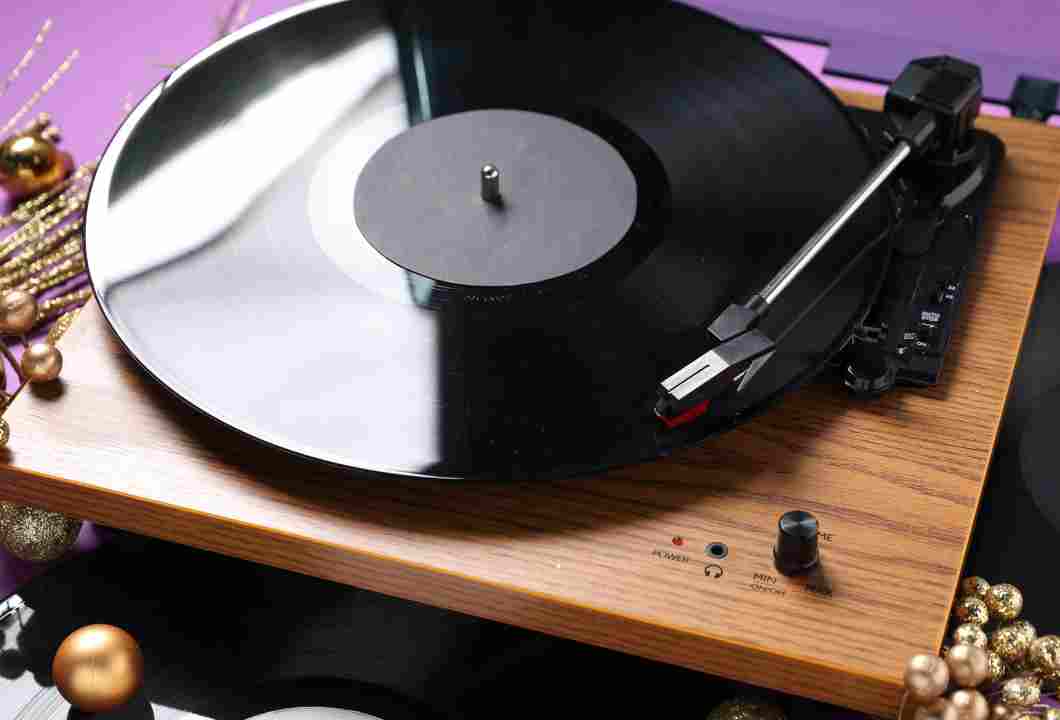
- Turntable: The complete system—plinth, motor, platter, tonearm
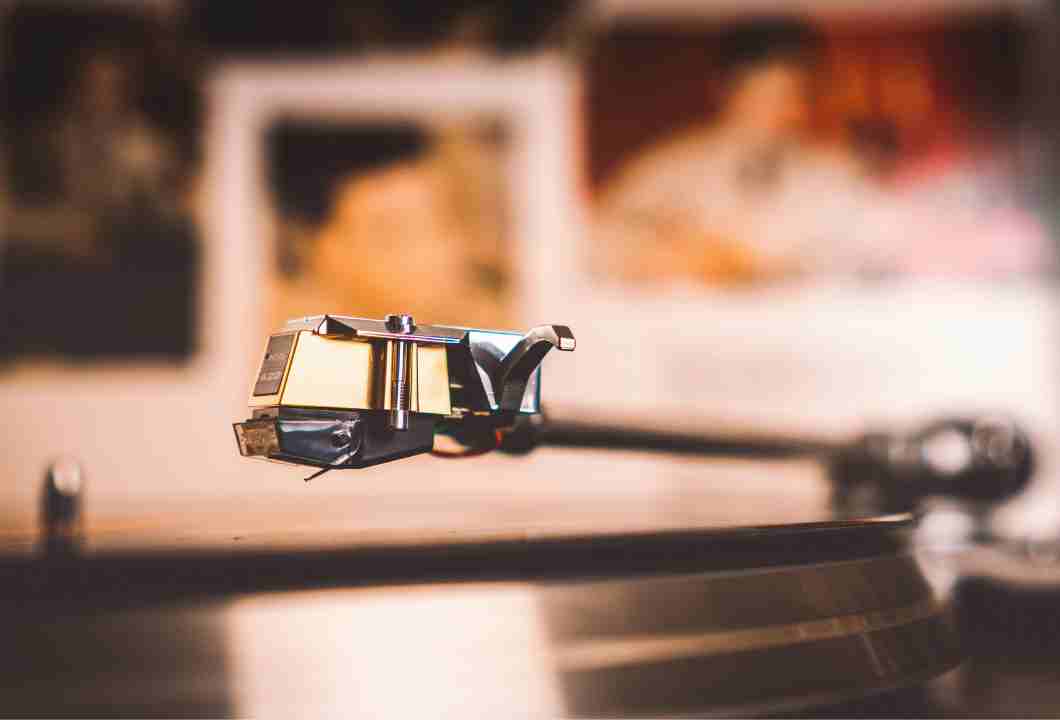
- Cartridge: Mounted at the end of the tonearm; converts mechanical vibration into an electrical signal
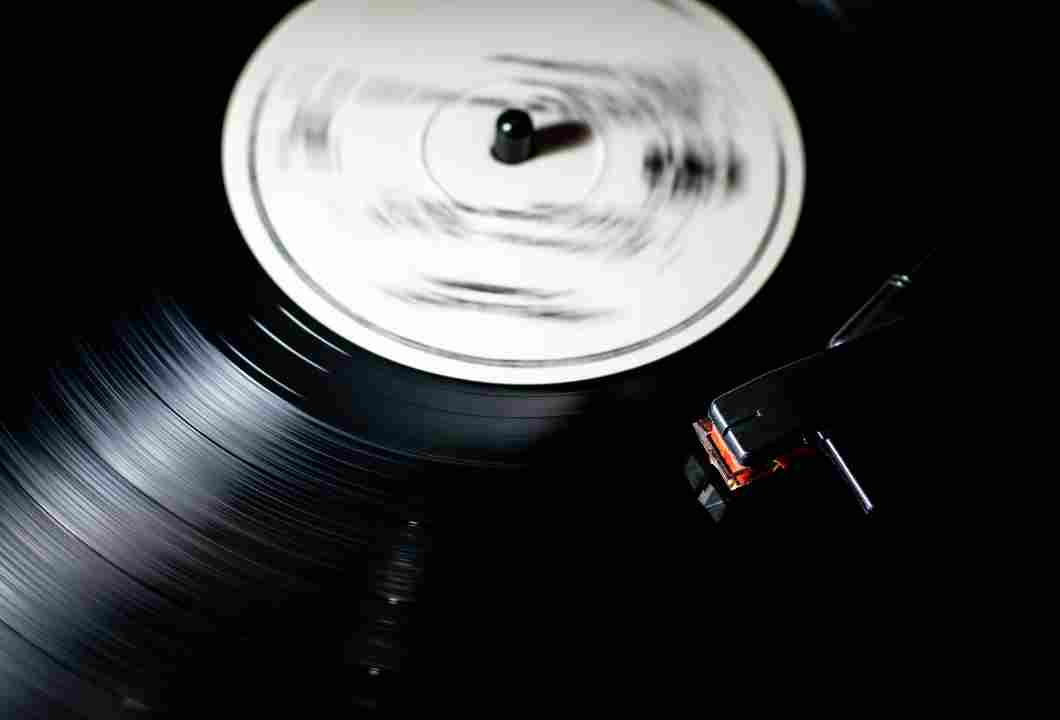
- Stylus (needle): The replaceable tip assembly that contacts the groove
The stylus is not universal. It is cartridge-specific. Even cartridges from the same manufacturer may require completely different styli—one of the reasons counterfeit and “generic” replacements cause so many problems, as explained in How to Avoid Counterfeit Styli and Cartridges: Practical Signs When Buying.
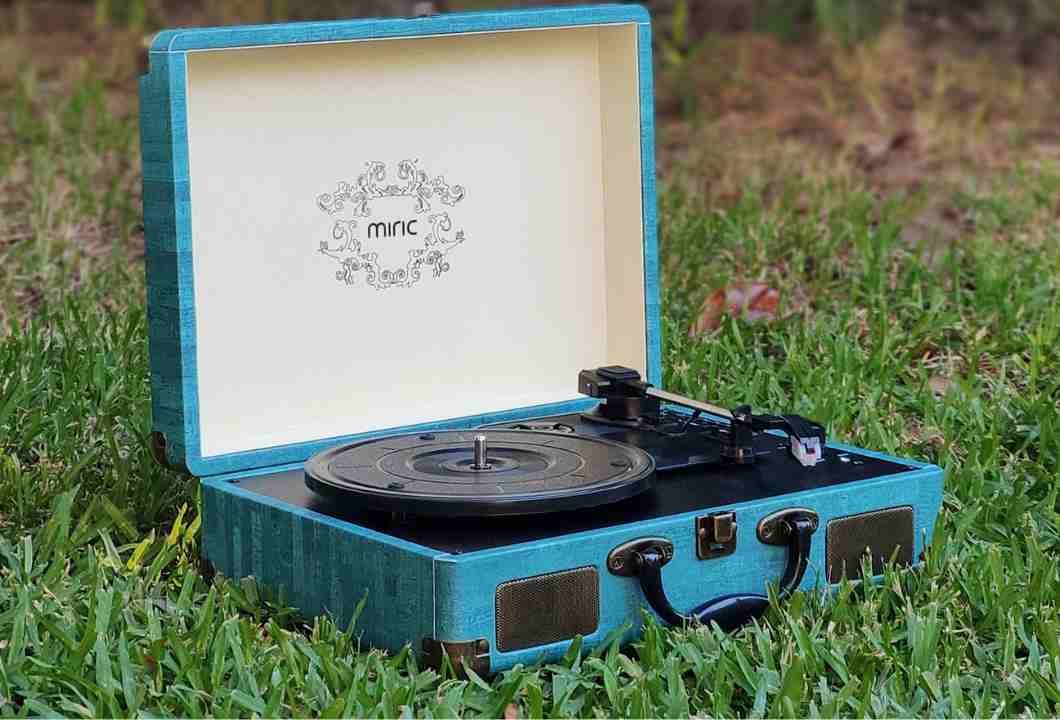
The term record player may appear in consumer manuals, but in technical restoration contexts, turntable is the precise term and reflects the level of adjustment and compatibility involved.
The 10-Minute Identification Method (Professional Workflow)
Step 1 – Identify the Cartridge Body (Not the Stylus)
Time required: ~2 minutes
Remove the headshell if your tonearm allows it. Under good lighting, inspect the cartridge body itself, not the stylus assembly. Look for:
- Brand name
- Model number (often very small)
- Logos or distinctive body geometry
Common mistake: reading the stylus branding and assuming it identifies the cartridge. Aftermarket styli often obscure the original cartridge identity.
If no markings are visible, note body shape, mounting type, and pin layout.
Step 2 – Check the Mounting Standard
Time required: ~1 minute
Most vintage turntables use one of two standards:
- 1/2-inch mount: Two screws, adjustable geometry
- P-mount (T4P): Plug-in design, fixed geometry
This immediately eliminates many incorrect replacements and helps explain compatibility failures discussed in Headshell and Mounting Standards: Compatibilities No One Explains.
Step 3 – Remove the Stylus Carefully
Time required: ~1 minute
Grip the stylus housing—not the cantilever—and gently pull it forward or downward, depending on design. Never twist.
With the stylus removed, you can:
- Reveal cartridge markings hidden underneath
- Confirm the physical interface geometry
Professionals never identify a stylus without removing it first.
Step 4 – Inspect Stylus Assembly Geometry
Time required: ~2 minutes
Even without magnification, several cues matter:
- Plastic housing shape and color
- Locking rails or tabs
- Cantilever length and angle
Two styli can appear interchangeable yet differ enough to alter tracking force behavior, resonance, and groove contact—issues often misdiagnosed later as Inner Groove Distortion at the End of the Side: Causes and How to Reduce It.
Step 5 – Cross-Reference Using Cartridge Data, Not Stylus Claims
Time required: ~2 minutes
Once the cartridge model is known, consult:
- Manufacturer cartridge documentation
- Service manuals
- Trusted cross-reference charts
Ignore listings that say “fits many models” unless the cartridge manufacturer explicitly approved it. Compatibility is defined by cartridge design—not marketing language.
Step 6 – Confirm Stylus Profile and Intended Use
Time required: ~2 minutes
Stylus shape must match cartridge design intent:
- Conical – forgiving, vintage-correct
- Elliptical – improved detail, moderate demands
- Line contact / MicroLine / Shibata – high precision, setup-critical
Installing an advanced profile on a cartridge or tonearm not designed for it can introduce the same risks outlined in Elliptical, Conical, or Microlinear Stylus: Audible Differences and Risks for Vintage Records.
Common Pitfalls That Waste Time and Money
“Same brand, same fit”
False. Cartridge families often share branding but not geometry.
“It slides in, so it fits”
Mechanical insertion does not guarantee correct suspension alignment.
“Aftermarket equivalent”
Quality varies wildly. Without exact matching, equivalence is meaningless.
When the Cartridge Is Unknown or Unmarked
In workshop conditions, unidentified cartridges are common. When this happens:
- Photograph the cartridge from multiple angles
- Measure body dimensions and stylus slot geometry
- Compare against known cartridge families
- Use elimination logic, not assumptions
This takes longer than ten minutes—but it prevents irreversible damage.
Why Vintage Turntables Demand Higher Precision
Vintage turntables often feature:
- Lower-mass tonearms
- Tighter mechanical tolerances
- Cartridge designs optimized for specific compliance ranges
A mismatched stylus may play, but it will not perform correctly—much like the compatibility errors described in Modern Cartridges on Vintage Tonearms: When It Works, When It Mismatches, and Why.
Verification Before Playing a Record
After installing the correct stylus:
- Set tracking force with a calibrated scale
- Verify anti-skate behavior
- Test on a non-critical record
Never “break in” a stylus on a valuable pressing—a mistake that often leads to diagnoses seen later in Muddy Bass and Dull Mids: How to Tell Whether the Problem Is a Tired Cartridge or a Bad Adjustment.
The Deeper Value of Getting It Right
Correct stylus identification restores:
- Proper tonal balance
- Predictable tracking behavior
- Cartridge longevity
- Record preservation
When the stylus is right, the entire system relaxes. Distortion falls away. Music flows naturally.
A Mindset Shift That Changes Everything
Stop asking: “Will this stylus work?”
Start asking: “Was this stylus designed for this cartridge?”
That single question separates preservation from approximation.
Ten minutes of disciplined inspection can save decades of records, reveal the true voice of a cartridge, and elevate a turntable from merely functional to genuinely authentic. In vintage audio restoration, precision is not elitism—it is respect for the engineering that made analog playback timeless.